Outfit & Backdrop Selection
Last updated: December 9, 2025
As a team owner or team admin, you can configure all the clothing and backdrop options your team members can choose from when they create their headshots.
Team members will only be able to select 10 outfits and 8 backdrops from the list of options you've pre-configured, but you can approve as many choices as you’d like.
Choosing your team's outfits
You can choose from 350+ outfits ranging from suits to business casual. To select the outfits your team members will be able to choose from:
Go to Clothing in the left sidebar
In the Approved tab, you’ll see the 14 default outfits we pre-select based on popularity. Click Remove to take any of them out
Switch to the Removed tab to browse all available outfits you can add
(Optional) Use the gender toggle to filter by gender
(Optional) Use the search bar to look for specific styles
Click Approve to add any outfit to your approved list
Click Save Changes to confirm your changes
Adding logos on outfits
Currently, HeadshotPro doesn’t have a built-in feature to upload logos directly onto clothing before the headshots are created.
If you want to add a logo to your team’s clothing, you’ll need to do it afterward using the edit feature once the headshots are generated.
If you want to explore other options for adding logos from the start, feel free to contact our support team at support@headshotpro.com.
Choosing your team's backdrops
HeadshotPro offers 100+ backdrops, from studio-style environments to outdoor settings. As the team owner, you choose which ones your team members can use when creating their headshots.
To configure your team’s backdrop options:
Go to Backdrops in the left sidebar
Choose one of the following setup options:
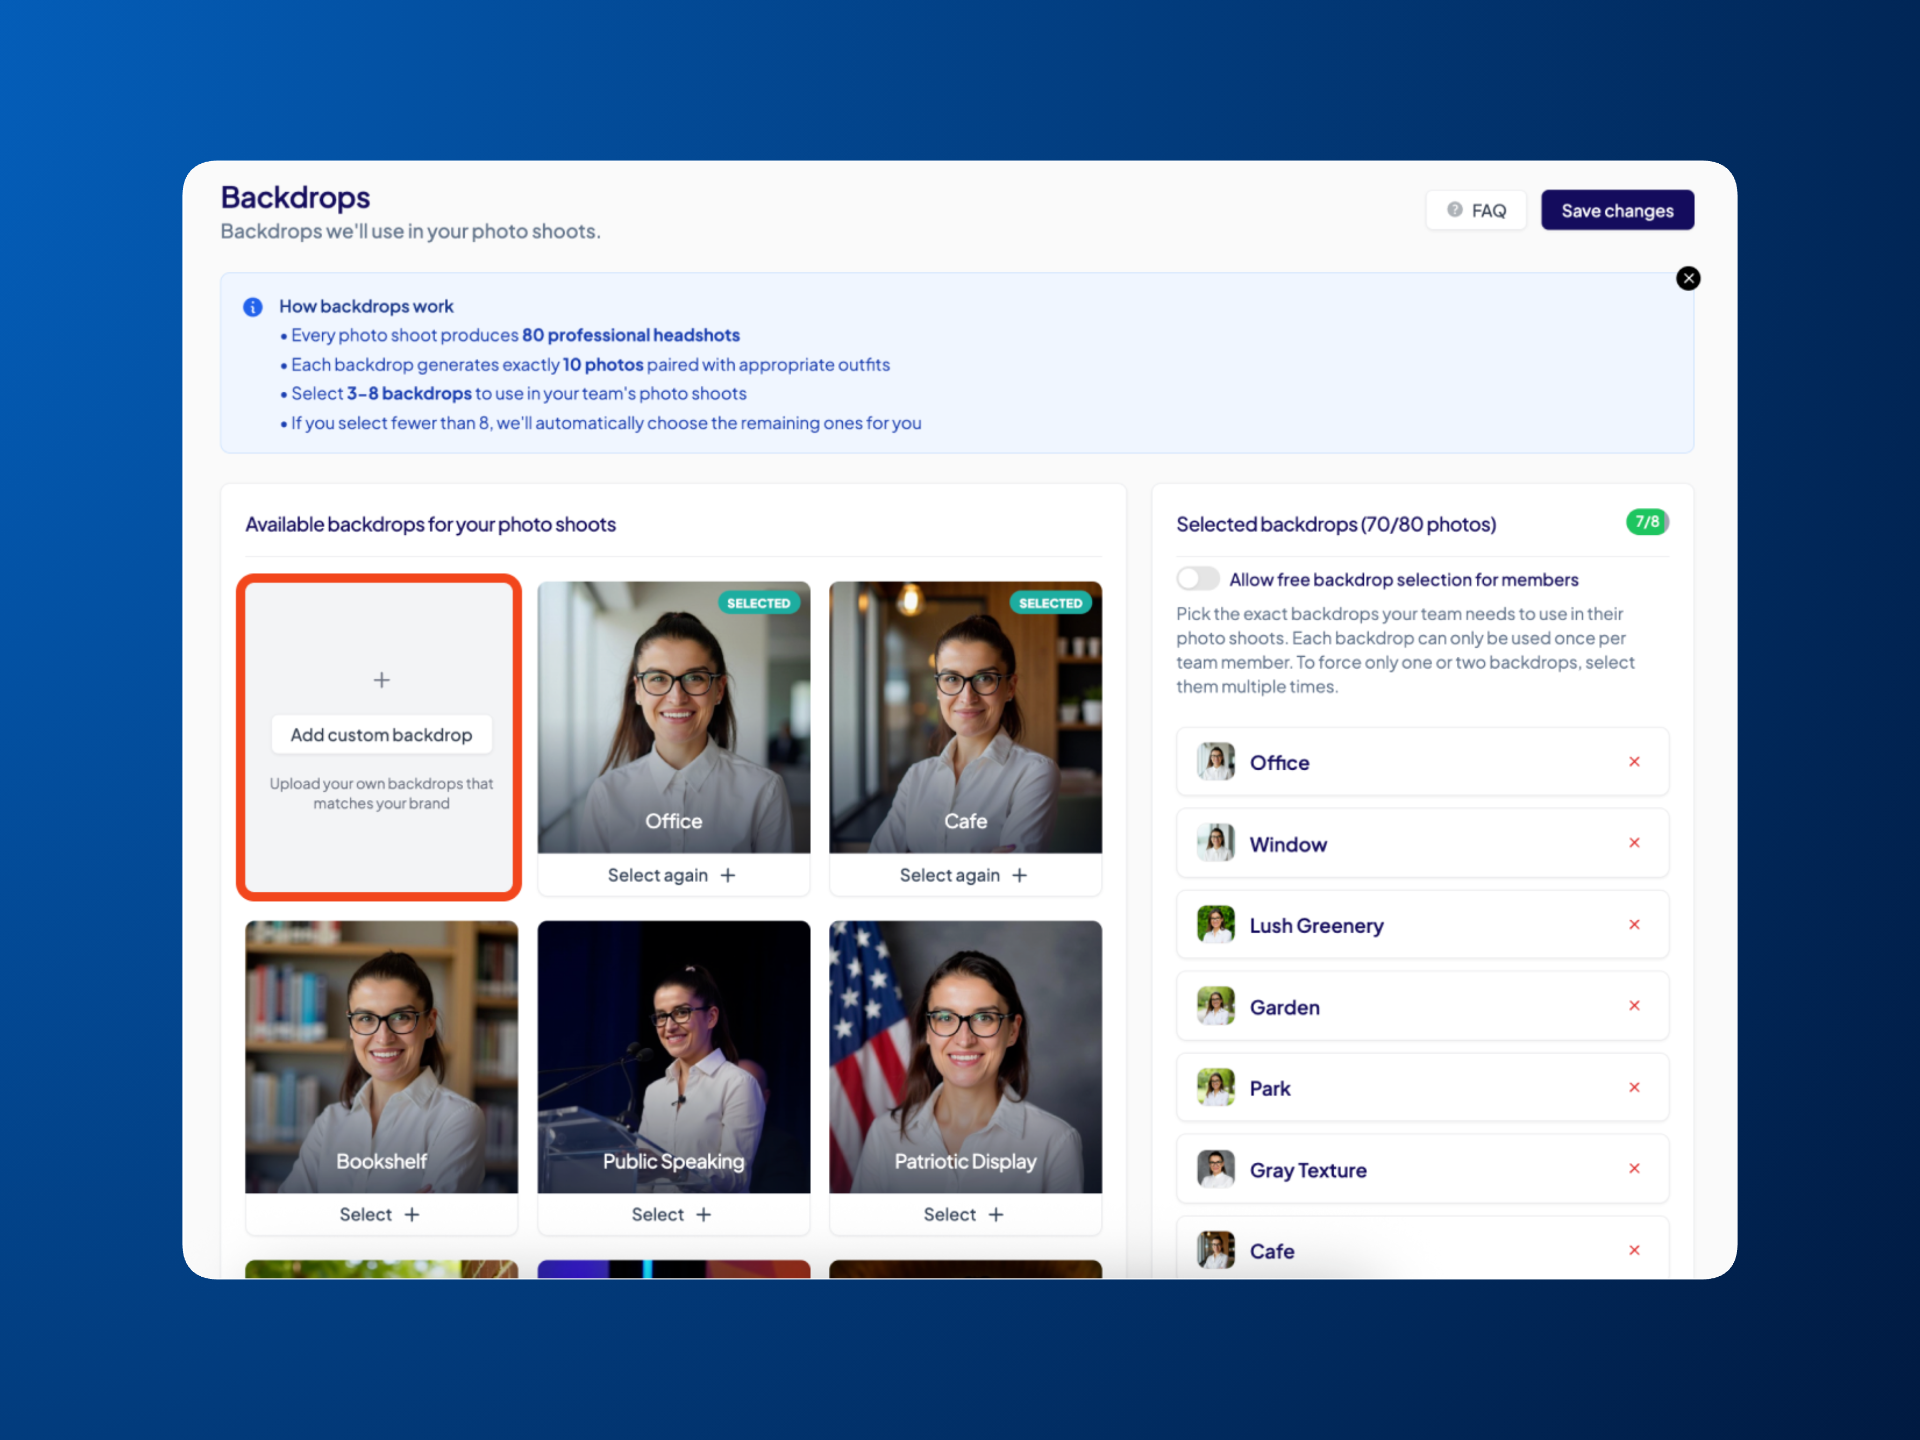
Option 1 - Allow free backdrop selection
Enable Allow free backdrop selection for members so your team can choose from all 100+ available backdrops during their headshot creation.
Option 2 - Pre-select your backdrops
Click on Select on any backdrop you want to include. You can pre-select up to 8 backdrops, which will be the only ones shown to your team.
Click on Save changes
Note: If you want to use fewer than 8 backdrops (for example, a single consistent backdrop), simply select the same backdrop multiple times. This simply means your team will get more photos with that same background.
Uploading custom backgrounds
You can also upload your own branded background if you'd like:
Go to Backdrops in the left sidebar
Click Add custom backdrop
Upload your PNG or JPEG file
Resize and position the backdrop the way you want
Name your custom backdrop
Click Save custom backdrop
Once uploaded and saved, your custom backdrop will appear alongside the other available backdrops, and you can select or approve it just like any other option.
Note: Custom backdrops aren’t moderated by HeadshotPro and may not meet our quality standards so we can’t guarantee headshot quality when using them. Please use them at your own discretion.